Plaster + Gesso = Delicious, FLEXIBLE, texture!
The other day on my Instagram stories, I shared some beautiful handmade papers I had coated in a layer of my favorite, homemade texture medium made that I call plaster gesso for additional texture and stability and I’ve had quite a few of you ask for links to the mediums I used. This blog post is a great place to round those links up for you to refer to whenever you want to refer to them.
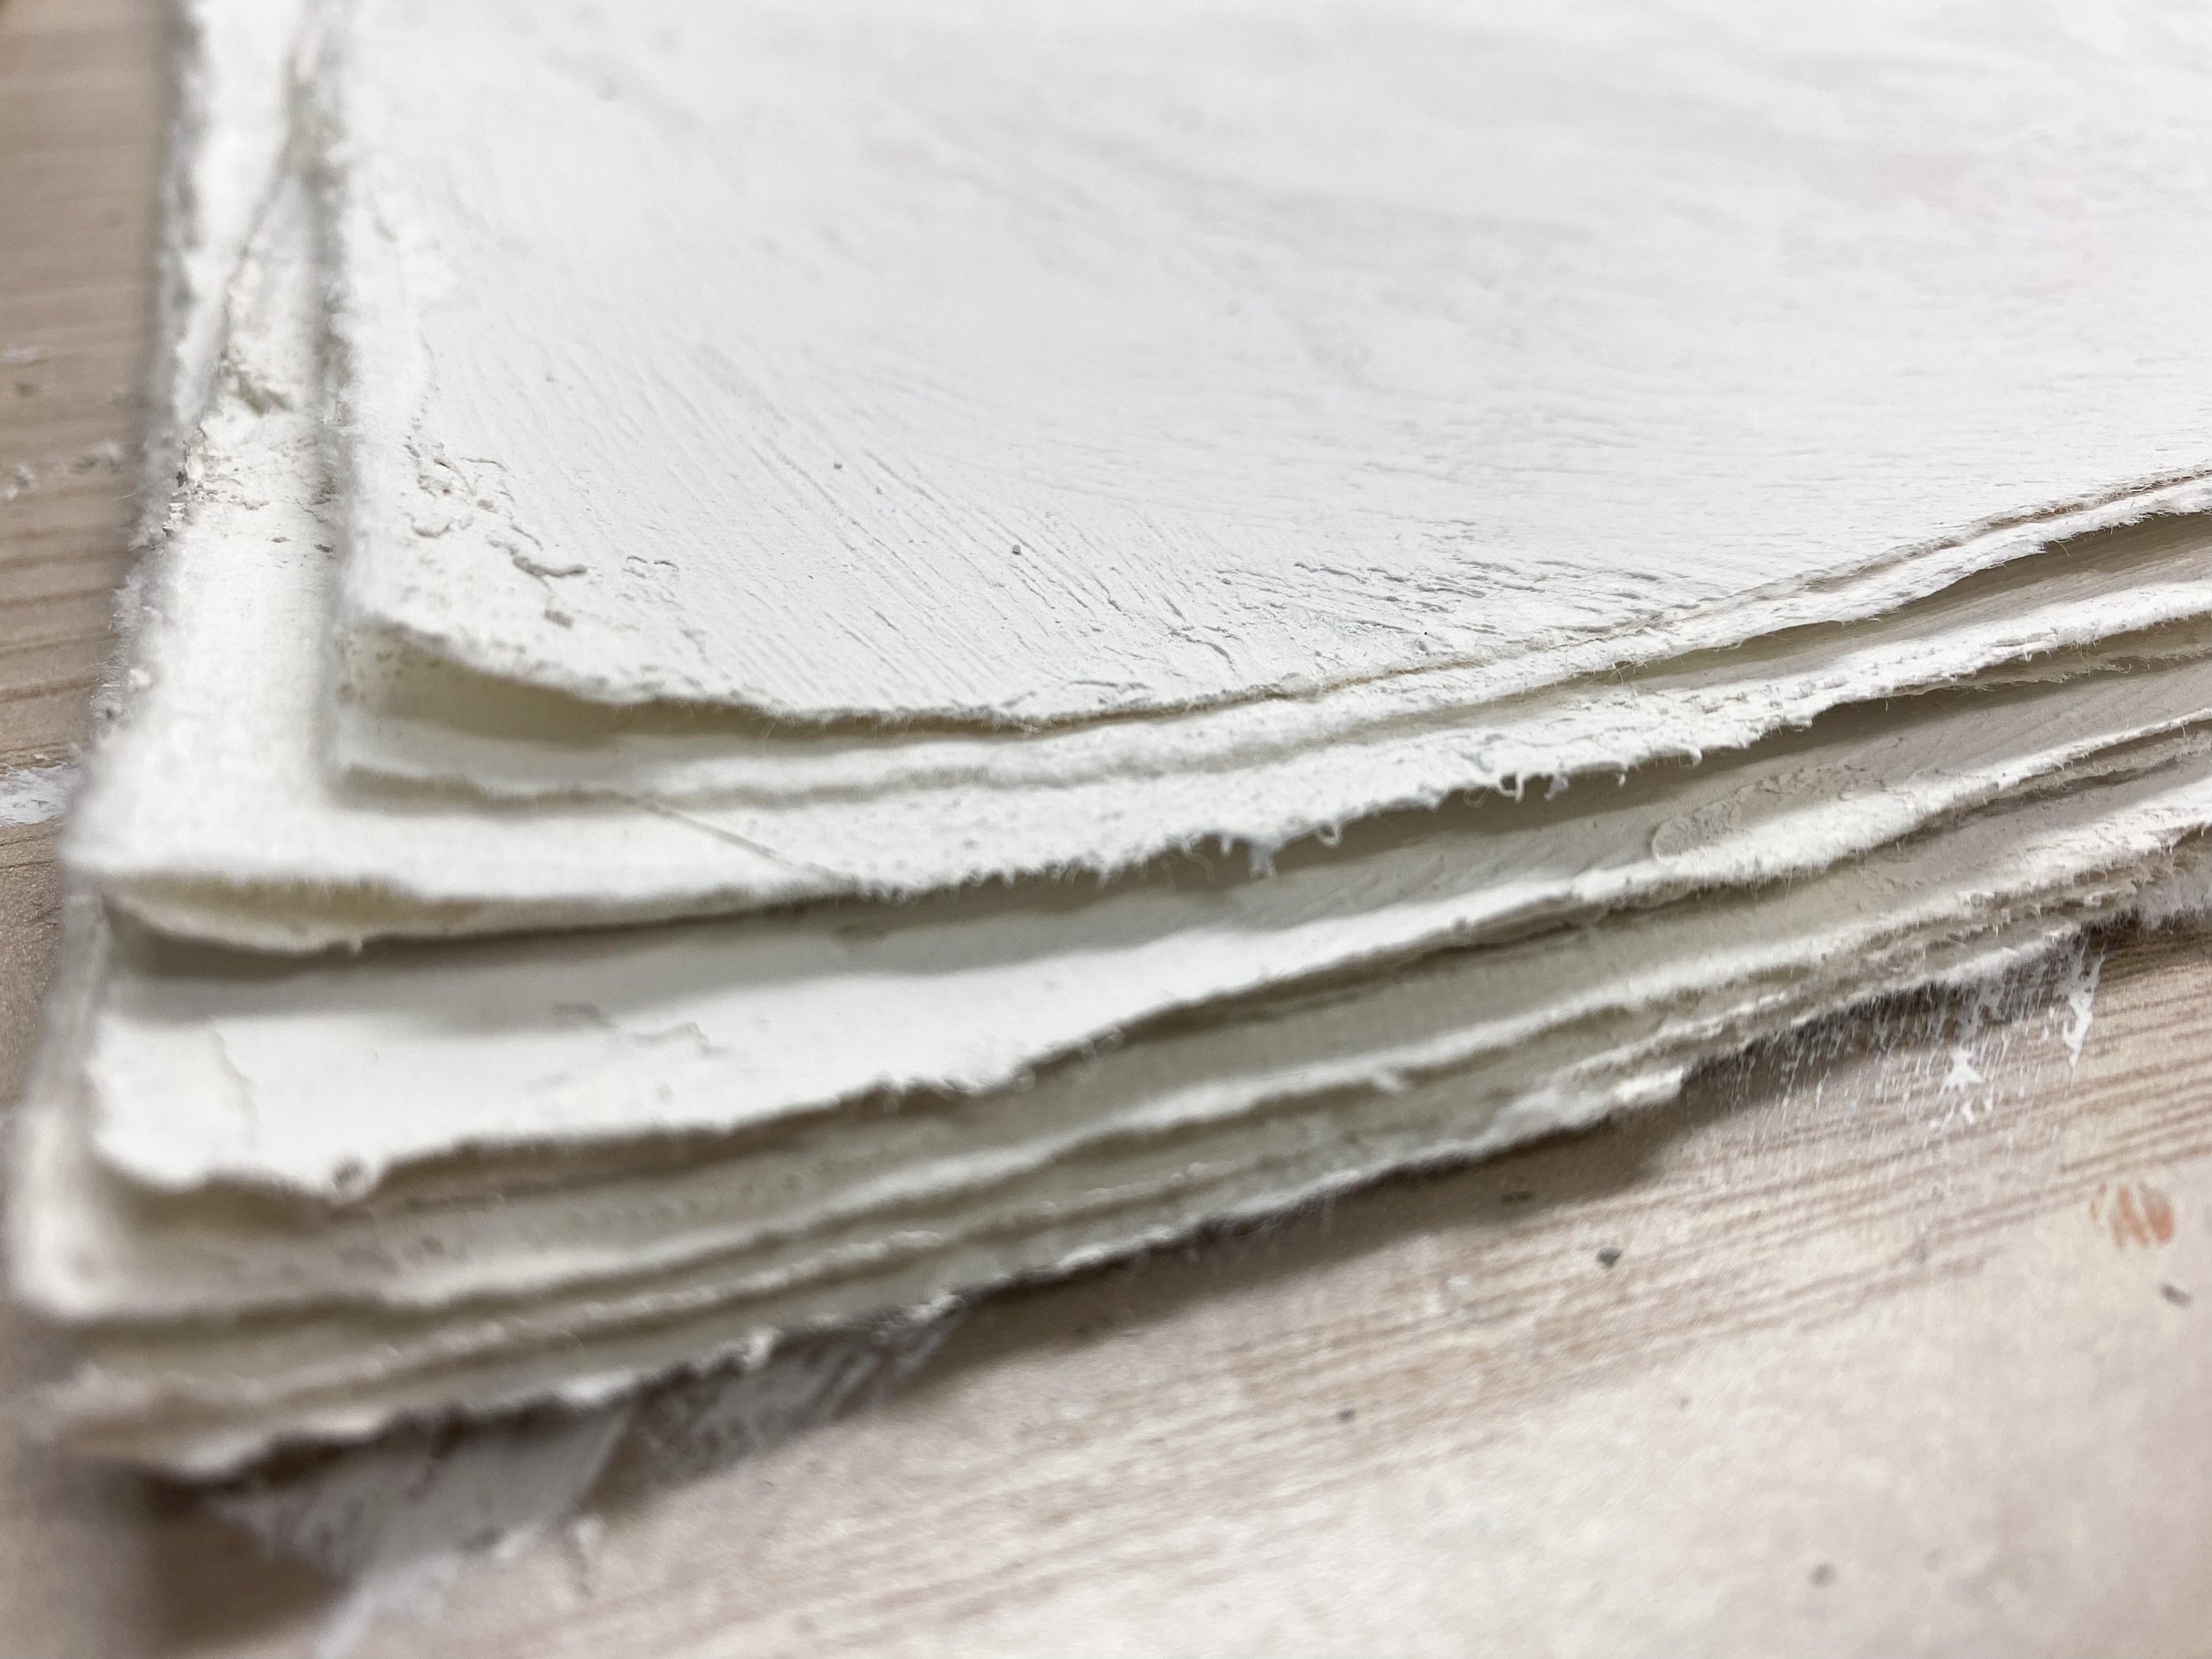
Look at that yummy texture!
The first thing to know about this homemade texture medium is that it can be used on so many different surfaces and substrates. It’s not completely unlike when you see DIYers add baking soda to paint. It thickens it and gives it some texture but in this case, the end result isn’t usually planned to be a finished surface. It’s a prepared surface on which you can then apply so many other media. You certainly could leave it untouched after it has dried if you wanted but because it is significantly more porous than, say, paint and baking soda, you may want to seal it with something (such as matte medium or spray fixative) to keep it from taking on finger oils and dust.
The only two ingredients that you need to make this texture medium are (linked):
Plaster of Paris
Gesso (I buy it by the gallon)
In this case, I usually use white gesso but clear or tinted would work similarly. Additional materials would be:
- a tool to apply the medium with like a stuff bristled brush and/or a taping knife.
- a container to mix the medium in. I recommend a flexible, plastic or glass or metal container.
- a tool to mix the medium with. I do not recommend a wooden spoon. Plaster loves to stick to wood and that can be frustrating when mixing the medium. I prefer to use sturdy plastic or metal.
- a substrate to spread the medium on (paper, canvas, cradle board, wood, etc.) In this case, I used some inexpensive handmade paper that I purchased on Amazon. I admit that I was a bit disappointed when the paper arrived. The pictures suggest that it is thick with a stack of 50 measuring maybe an inch and a half to two inches when stacked. When it arrived, it was a scant 3/8 of an inch and much thinner and softer than I expected. (The softness was a pleasant surprise!)
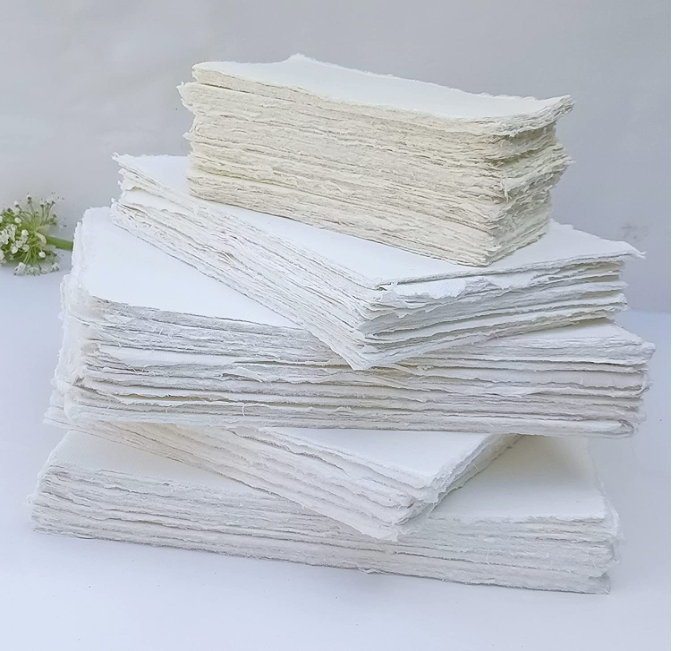
Since I didn’t have a plan that made the thickness of the paper a deal breaker, I knew I could beef it up a bit with the plaster + gesso mix that I’ve been using in my work for a while so I set it aside until I was ready to make that mess.
The fact that I can even think of plaster of Paris when considering working on paper is an indication of a new level of freedom I’ve reach in my creative process because of this mixture. I’ve worked with plaster of Paris and other products in the “plaster” category for years but never found a version that would allow it to be reliably applied to a flexible surface like paper or even stretched canvas. Plaster of Paris is brittle, with no tensile strength (resistance to breaking when bent or pulled) so applying it to a flexible surface meant that it would immediately crack or break off if the surface was bent or flexed at all. Mixing it with gesso gives the plaster better adhesion and flexibility while also maintaining the gorgeous toothy, porosity that I love so much about gesso and plaster both.
Until creating this mixture, I never knew of a reliable way to incorporate plaster of Paris in book arts - specifically on the pages of a book that would be bent and handled a lot. There are certainly texture mediums that you can purchase at an art supply store - and they’re all great - but they are also usually much more expensive than this mixture.
Traditionally, plaster of Paris is mixed with water. It gets really hard when it dries and does not reconstitute with water (like joint compound will do). With this mixture, there is no water added. It’s literally JUST plaster of Paris and gesso mixed together until it’s a thickness that you want.
The question I get most frequently when talking about this mixture is what ratio to use and this is where I really shine in my ability to answer without actually answering. :) By that I mean that there is literally no recommended ratio because it totally depends on how thick YOU want it to achieve the texture YOU want. A good starting place might be 1:1 by volume (not by weight) and then adding more gesso if you want it thinner or more plaster if you want it thicker.

I like it a bit on the thicker side so that I can get texture more easily but you can absolutely create a thinner mixture for smoother texture (though too thin might be no better or different than just extra coats of straight gesso.) When you first mix it up, it will look like it has lots of teeny, tiny lumps of plaster in it. I haven’t ever been able to completely eliminate those IN the mixing container but the minute I start spreading or brushing it out onto my substrate those lumps smoosh right into the mixture and disappear.
It can be applied to your substrate with any tool you want. My favorite method of application is to paint it on with a very stiff bristled brush and either leave it with the brush texture or let it set for a few minutes before then gently smoothing it out a bit with a metal taping knife. An offset spatula would work fine too.
I have had great luck storing the mixture in a tightly sealed jar or container without it hardening but how long it will stay workable for you will depend on your climate, the thickness you mix it up to, and how soon you use it.
The question I get second most frequently is “what mediums can I use on top of this mixture?”. The answer I usually give is that if you can use it on gesso, you can use it on this mixture. You don’t need to overthink it. It really is that simple.

When buying plaster of Paris, I have found that art supply stores are the most expensive place to buy it and hardware stores are the cheapest. Craft supply stores usually are in the middle with prices a bit closer to hardware store prices. If you buy on Amazon, pay attention to the price per pound instead of the price for the container. A quick search resulted in the top hit costing almost $10 for a pound and packaged as an art supply but when I scrolled down just a few listings, I found the Dap brand (packaged for home improvement) listed for just under $8 for 4 pounds. If you were to buy locally like I do and if you were to buy it in larger quantities, you can get 25 pounds for about $20-25 (around $1 a pound). I know that the price per pound for plaster of Paris isn’t the main point of this post but it can be useful information when you want to make every art dollar count.

If you want to dive deeper into this medium and other ways to use it to create gorgeous, textural work, you may want to check out my Textural Minimalism course on Jeanne Oliver’s creative. To find that particular course, search by course title.
All in all, this medium can offer a lot of creative freedom in terms of versatility and affordability. I hope you have fun playing with it and, if you ever feel like sharing, I’d love to see what you create with it!